I am starting one of my
handmade sketchbooks and
thought to share my process
of making these with you.
I don’t make journals often…
I’ve wanted to, but frankly when I go to choose between making art and making books I always choose painting.
But I wanted to make some concertina journals partly to use some lovely papers I had left over, chief among these were the Hahnemühle calendars from many years, which I saved!
Top, you can see most of the elements that had to be prepared in advance, and tools to have on hand: Front and back covers, clips, a burnisher, glue, Xacto knife, eraser, pencil, 72″ metal cutting edge, and two good clamps (to hold the metal cutting edge)…
I also found household (kitchen) waxed paper good for protecting the art paper when gluing, and a second measuring stick to use when the metal edge was clamped.
And paper. Don’t forget the paper!
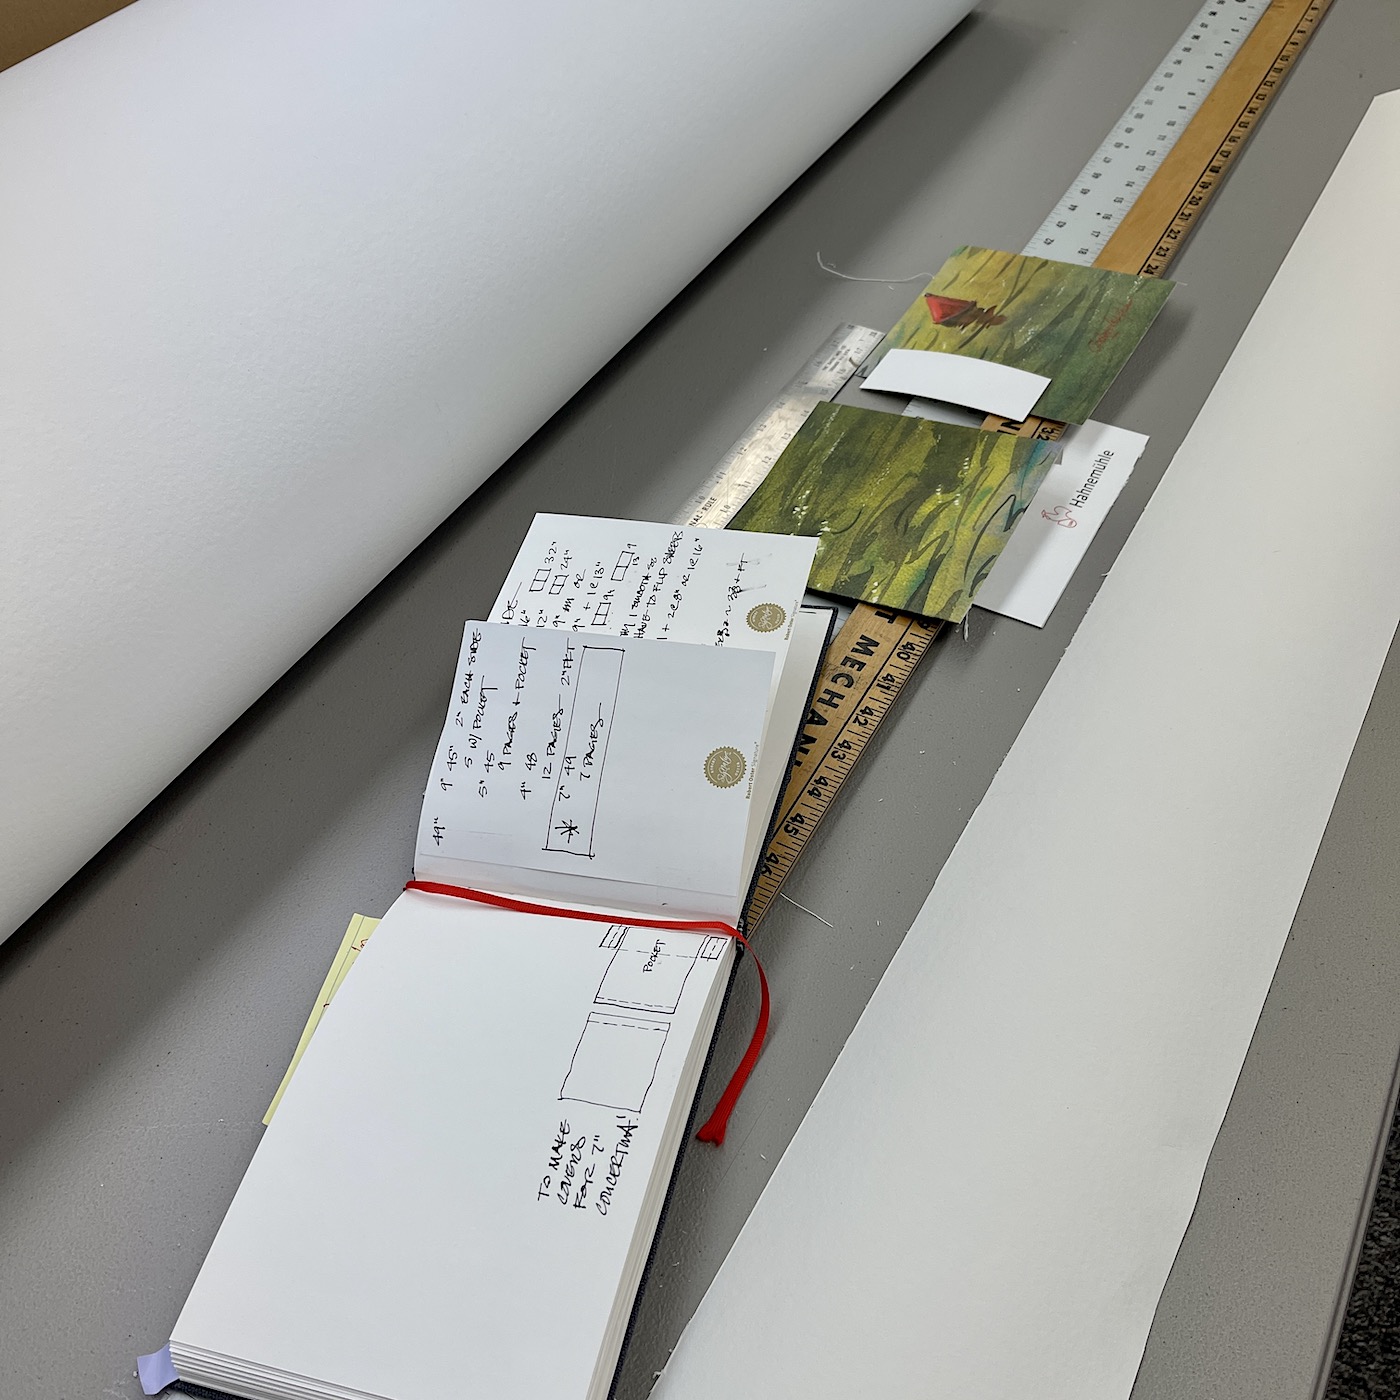 I bought a GINORMOUS roll of Hahnemühle bamboo paper, top and left. I had no idea how much there would be! I took notes about the process in a Hahnemühle Nostalgie Sketchbook, left, my favorite. Yup, I’m a groupie; I love their paper products.
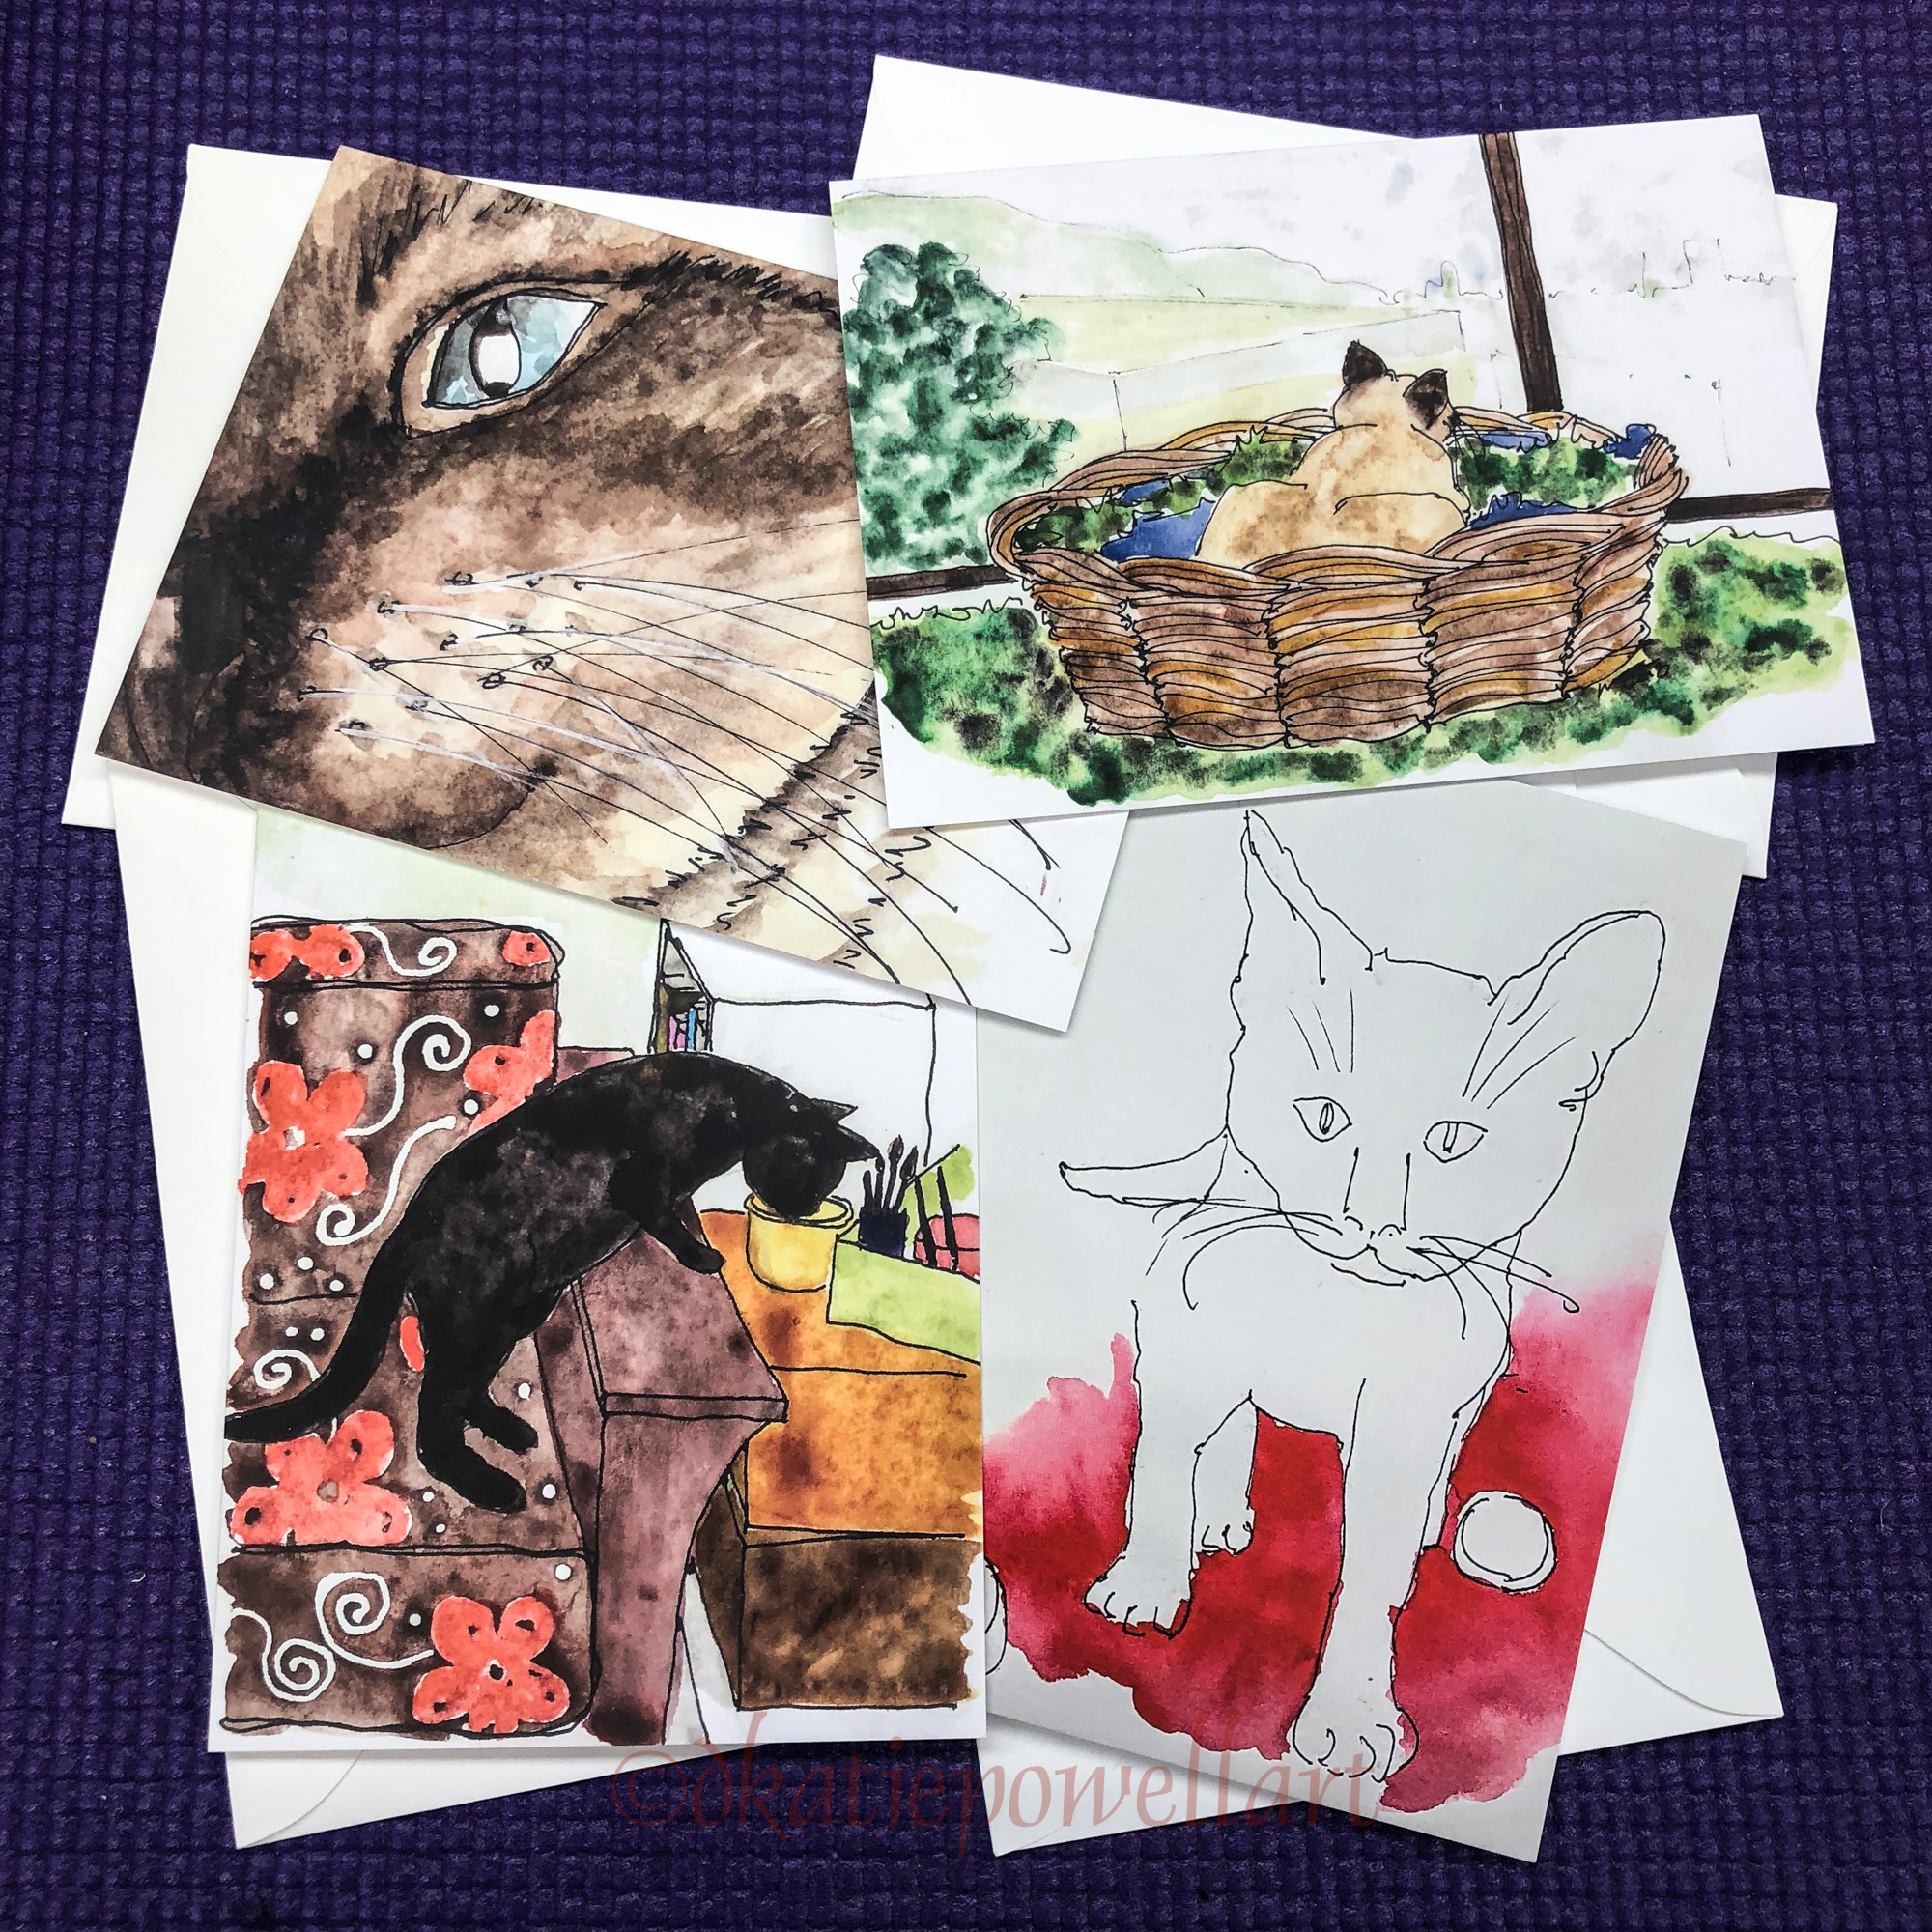
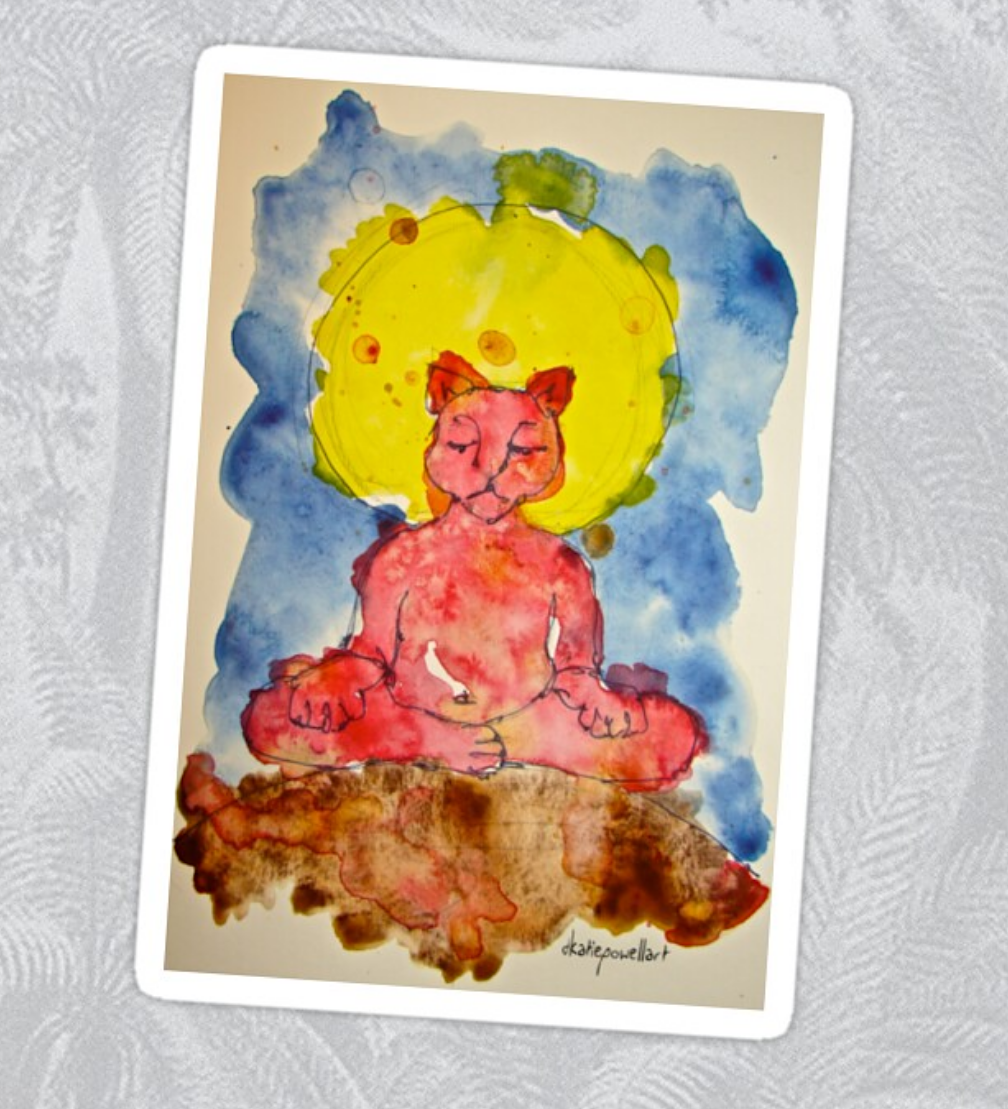
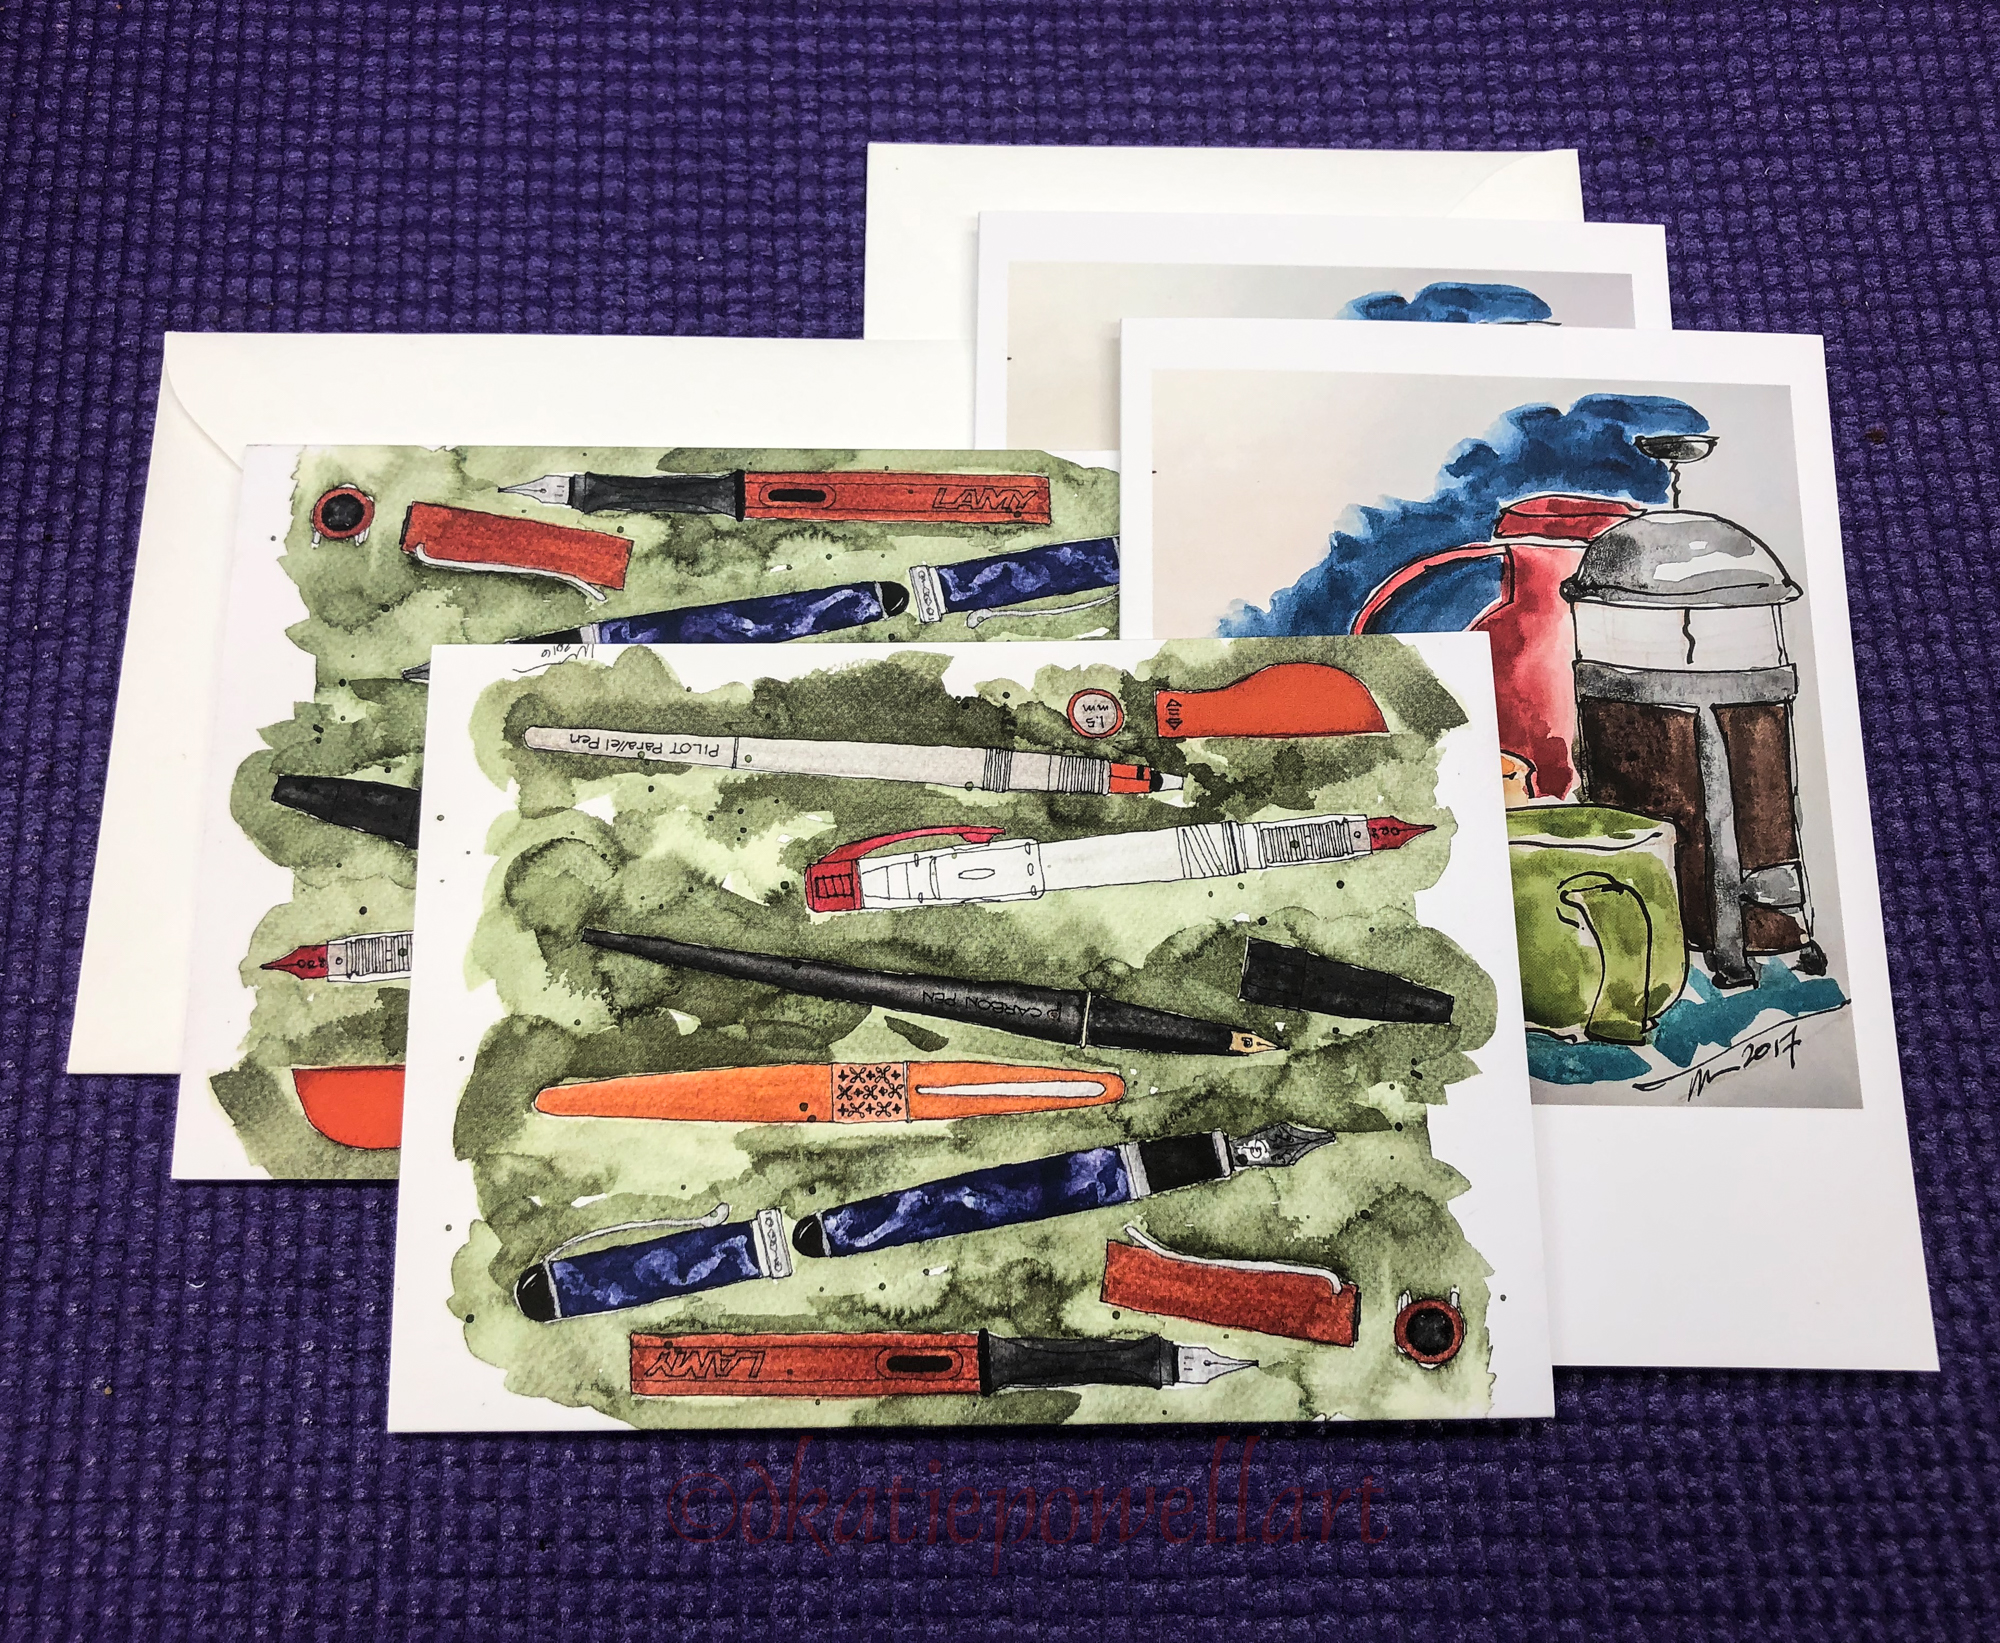
I started with old Hahnemühle wall calendars, second image above, because they are printed on lovely Hahnemühle watercolour paper and I can sketch on the backs of the pages as well.
I removed all the wire bindings and cut off the calendar readings at the bottom (and saved, though I don’t know what I’ll do with them). What I was left with were the images printed on Hahnemühle paper.
(I might make teeny tiny little journals from the leftover.
2-4 inches, but who knows. I throw out nothing but true scrap!)
 I started by choosing a cover blank to work with. Some had writing on them in the middle I might not want, even on the back cover. Also, I like to have a flap to pop bits of ticker stubs and such into (right) and so I considered this when laying out the cover blank.
I wanted to make most journals in the 7-9 inch range, not bigger — but even that changed as I made these journals. By working with the calendar cover blank first, I could determine what size covers I could create.
 I cut my Hahnemühle bamboo paper. I could get about 7 folds out of the 51-inch roll for 7″ square pages plus a bit to fold under and glue. I drew the line I wanted on the bamboo paper, and laid the 72′ metal cutting edge down.
Using clamps at both ends to secure it to the table was important so I didn’t have to try to hold it while cutting!
With that held in place, I could cut the long strip with a NEW Xacto blade.
2 Notes: Make sure you square off the paper — don’t trust that it is already squared. And, use NEW Xacto blades, and replace them frequently. You will regret it if you don’t!
 With the bamboo paper of the concertina book cut, I finalized my cuts on the cover blanks. 1/2-inch was added to covers of the square journals to allow for the glue down, making the front & back covers at least 7″x7.5″.
If I had room on the cover blanks and wanted a pocket, I cut them 7″x10.5″, allowing up to 3″ for the pocket.
I folded my front covers, using the extra 1/2 inch to be the glue down edge.
I folded my back covers, doing the same, but if I had the extra for a pocket then I created the pocket by folding the extra 3-inches and laying a little glue top and bottom.
Note: I did a mock up (above right) to make sure before gluing!
Everything was ready to assemble!
I had my clips ready, and laid wax paper down to protect my sketching paper and cover.
I can’t shoot images and glue down, so no pictures. I ran a bead of glue (don’t over do this) along the edge flap of the front cover, and carefully laid down the glued edge, clipped and laid to dry.
I did the same with the back. Then I let them sit and cure.

After a half hour, I took the clamps off and the journal was completed, above.
To protect them, I popped completed journals into a plastic bag and weighted the bag so they could continue to conform over time and stay clean until I wanted them.

The first day, what with figuring out all the issues, I made the books above in the
following sizes based on the parameters I discussed above:
three 7″x7″ journals, two 9″x9″ journals, one 7″x9″ journal, and two 7″x5″ journals.
The next day I made 10 more! Woot!
☾
 To hear about classes, follow me on Instagram, Facebook
or check out my new, improved dkatiepowellart.com
“Memory is more indelible than ink.”
Anita Loos, Gentlemen Prefer Blondes.
“I think not….”
Me… why I journal!
Hahnemühle Bamboo roll (or another long paper you love to sketch on), old calendars or cover stock, 6-10 clips, a burnisher, white glue, Xacto knife + NEW blades, eraser, pencil, 72″ metal cutting edge, 2 good clamps, household waxed paper, and a second measuring stick is useful to use when the metal edge was clamped.
©D. Katie Powell.
My images/blog posts may be reposted; please link back to dkatiepowellart.

☾
 As my Patreon supporter, you will have
access to some content not on this website,
sneak previews, goodies, discounts on classes.
I teach architectural sketching,
art journaling (art+writing), creativity, watercolors.
That annoying loud-mouth editor/critic in your head?
GONE! How great would that be?