

There are good online tutorials on fancy precise folded journals,
with hard covers at each end and measured numbers.
I can do THAT…
BUT it takes a long time to be precise, and the journal becomes quite precious!
I want to create a simple folded journal…
for my purposes at this time in my life, I am all about what is going into the art journal.
I have limited time
*partner in our conservation business working 50 hour work weeks*
and want to get to the goal:
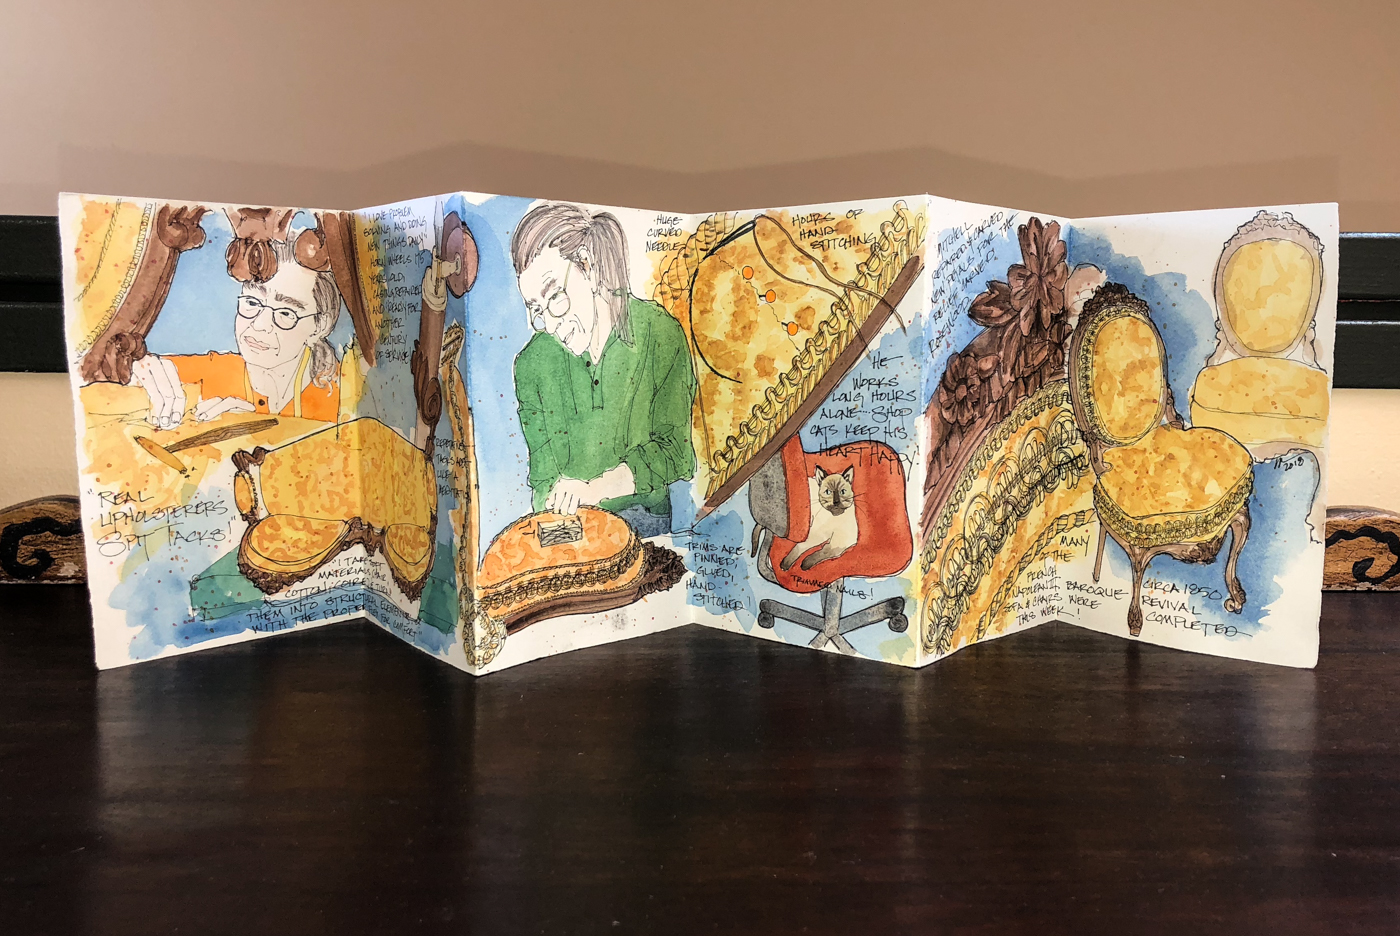
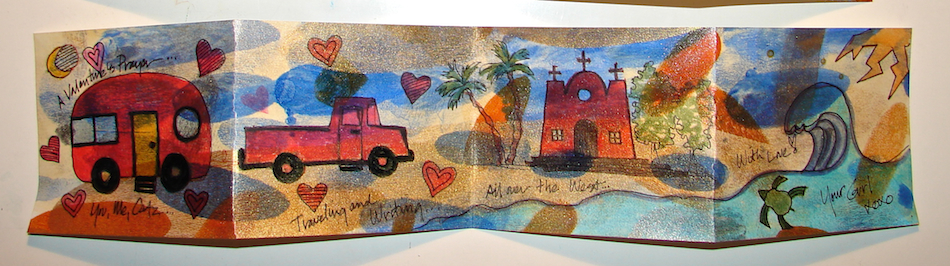
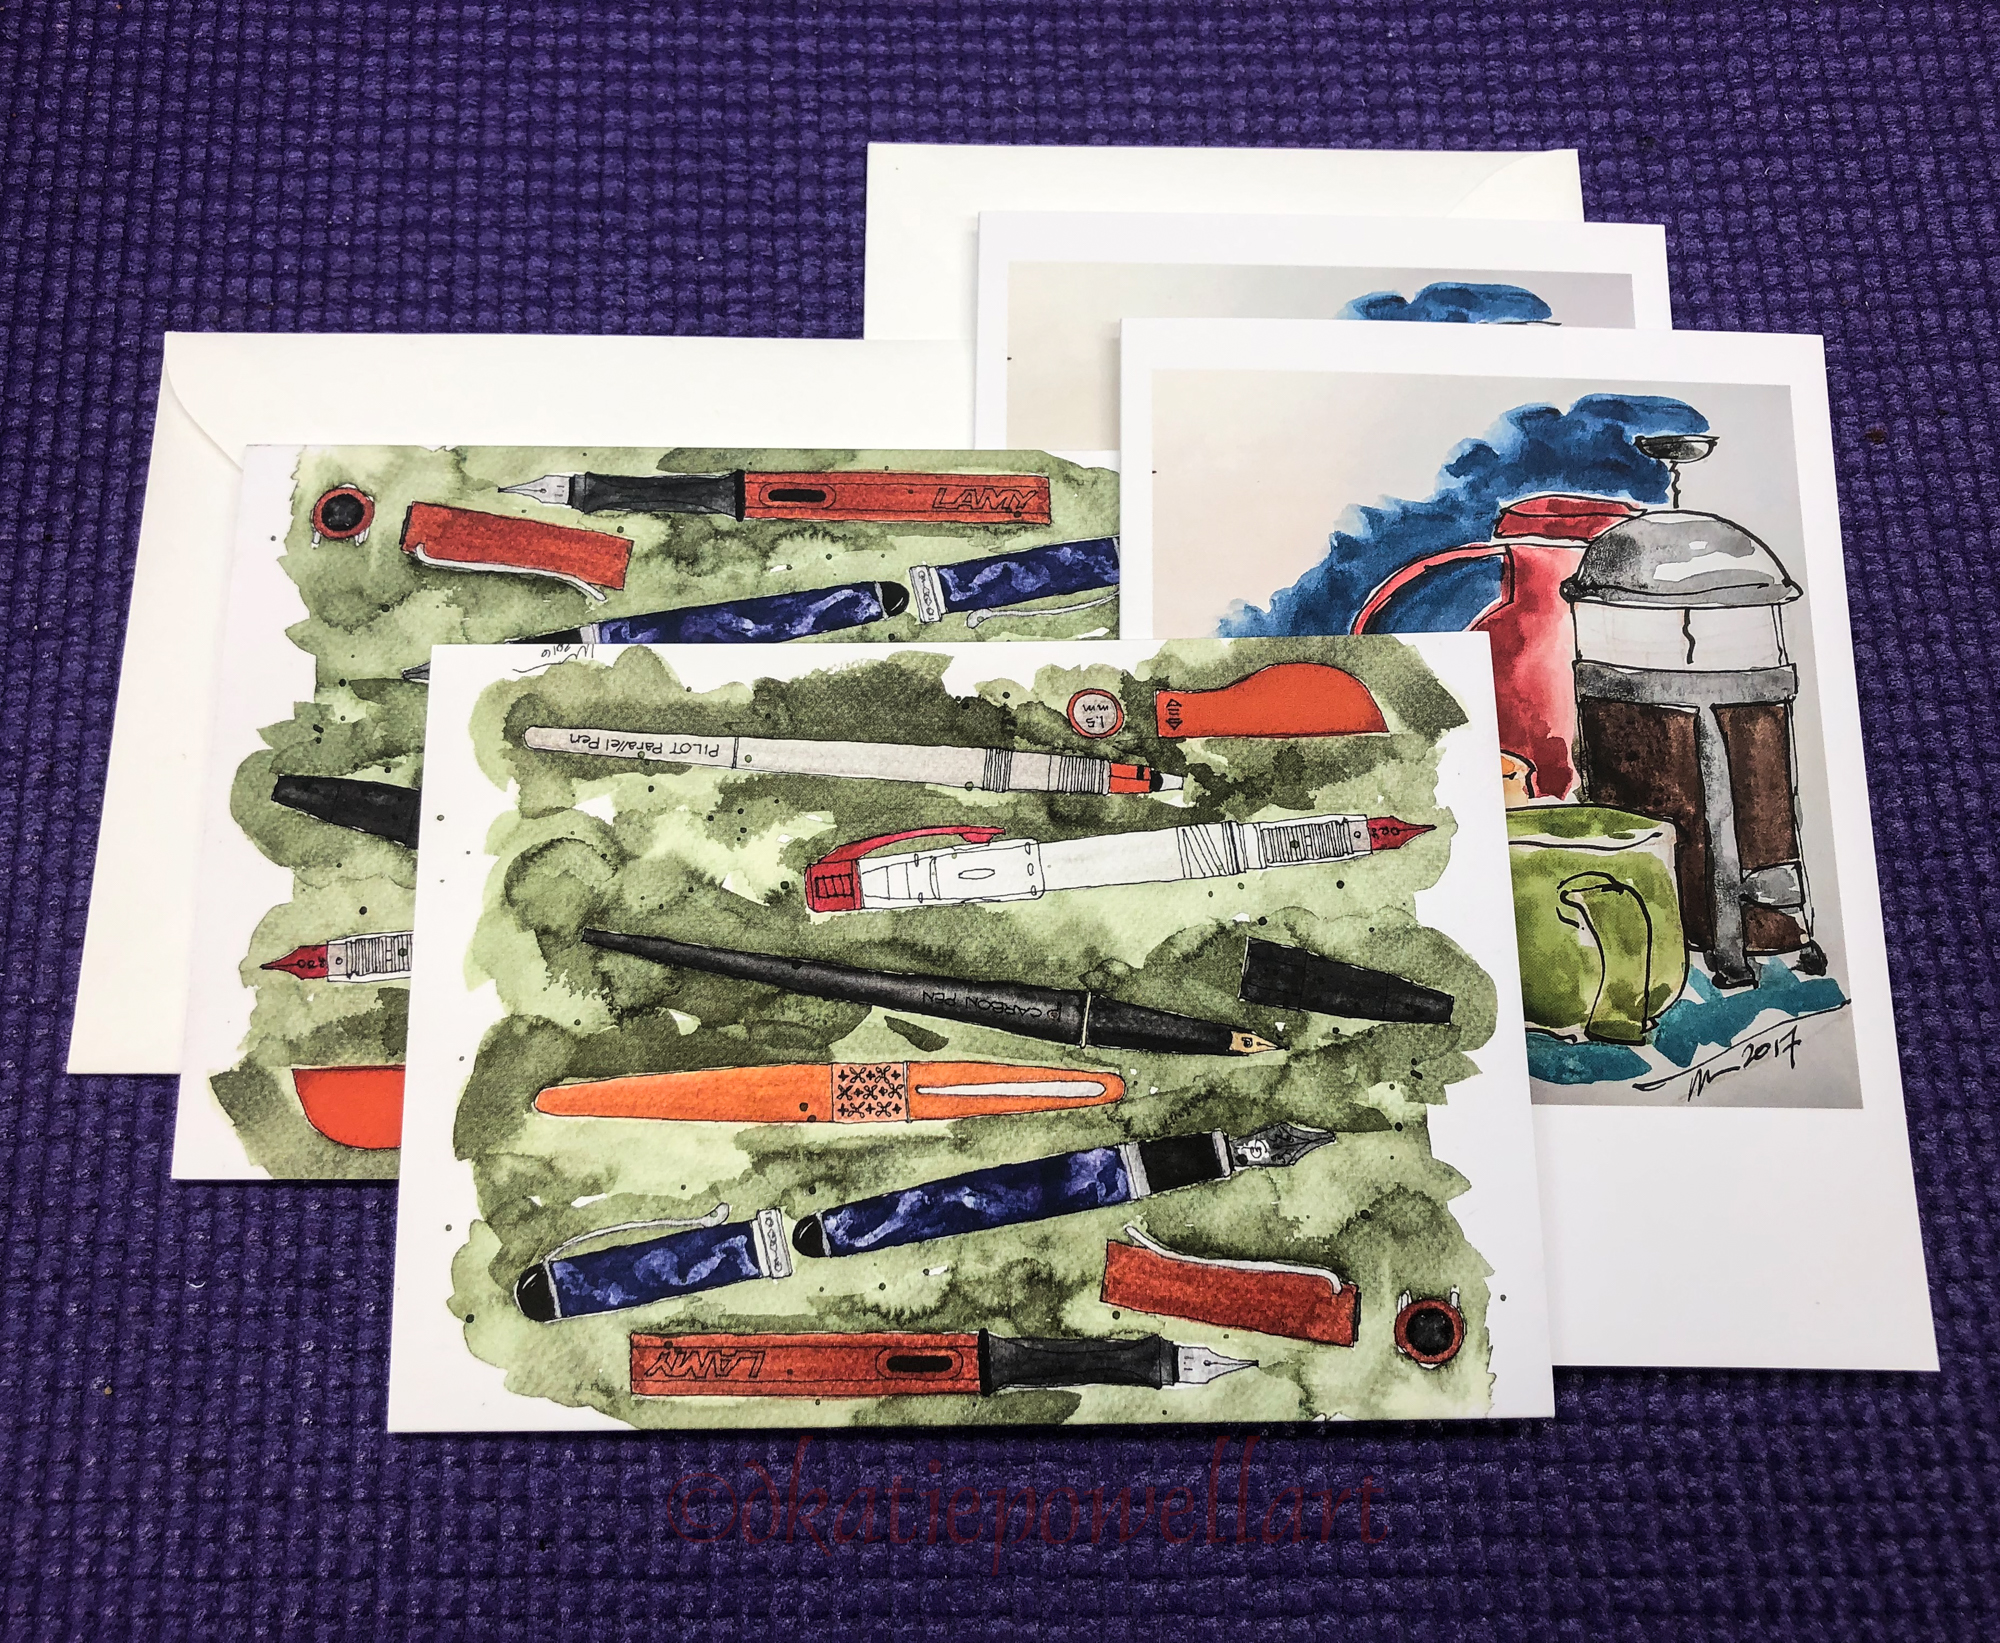
to make a card for Mitchell (above), tell a memory (Mom’s Jewelry Box),
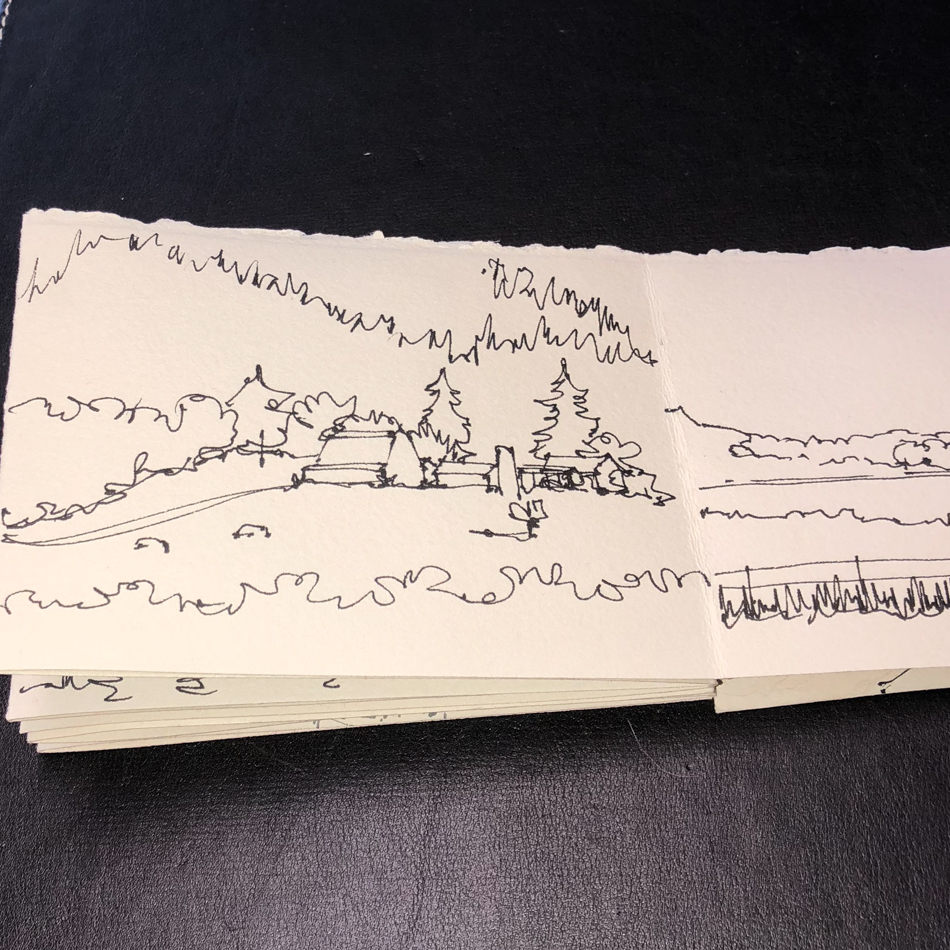
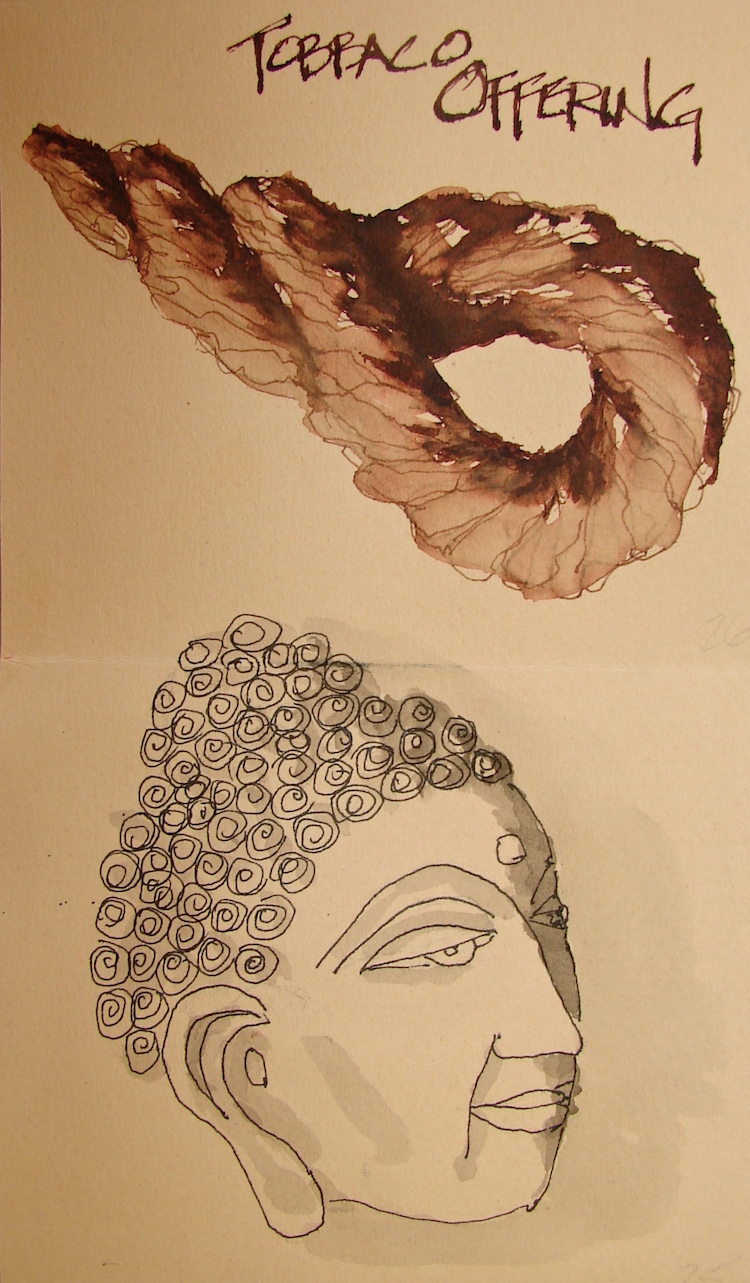
record an event (the trip to Southern Oregon), or show a slice of our life (below).
Some are very private love letters
* i hide these little gems, blushing *
I like these little journals because I’ve tried filling up a smallish journal
of 60 pages on a topic and some are STILL not finished.
It is very discouraging to slog through creating images after a trip trying hard
to complete the journal long after the inspiration is over!
A smaller story board is oh so very doable!
Take it with you!
My goal is to quickly create a folded watercolor accordion journal.
I generally have a colorful public side and a more private side…
Images on the public side, currently in watercolor, but I’ve done everything,
from acrylic to collage / mixed media.
 Here is my way —
you can adapt it to work for you.
I like to start with a full sheet
of watercolor paper,
often about 20 x 30-inches,
but any larger sheet of
watercolor paper will do.
If it is a smaller sheet it will simply
make a smaller accordion journal.
Note you can also do these kinds
of journals from colored paper
for ink and colored pencil,
which is a good idea for Inktober!
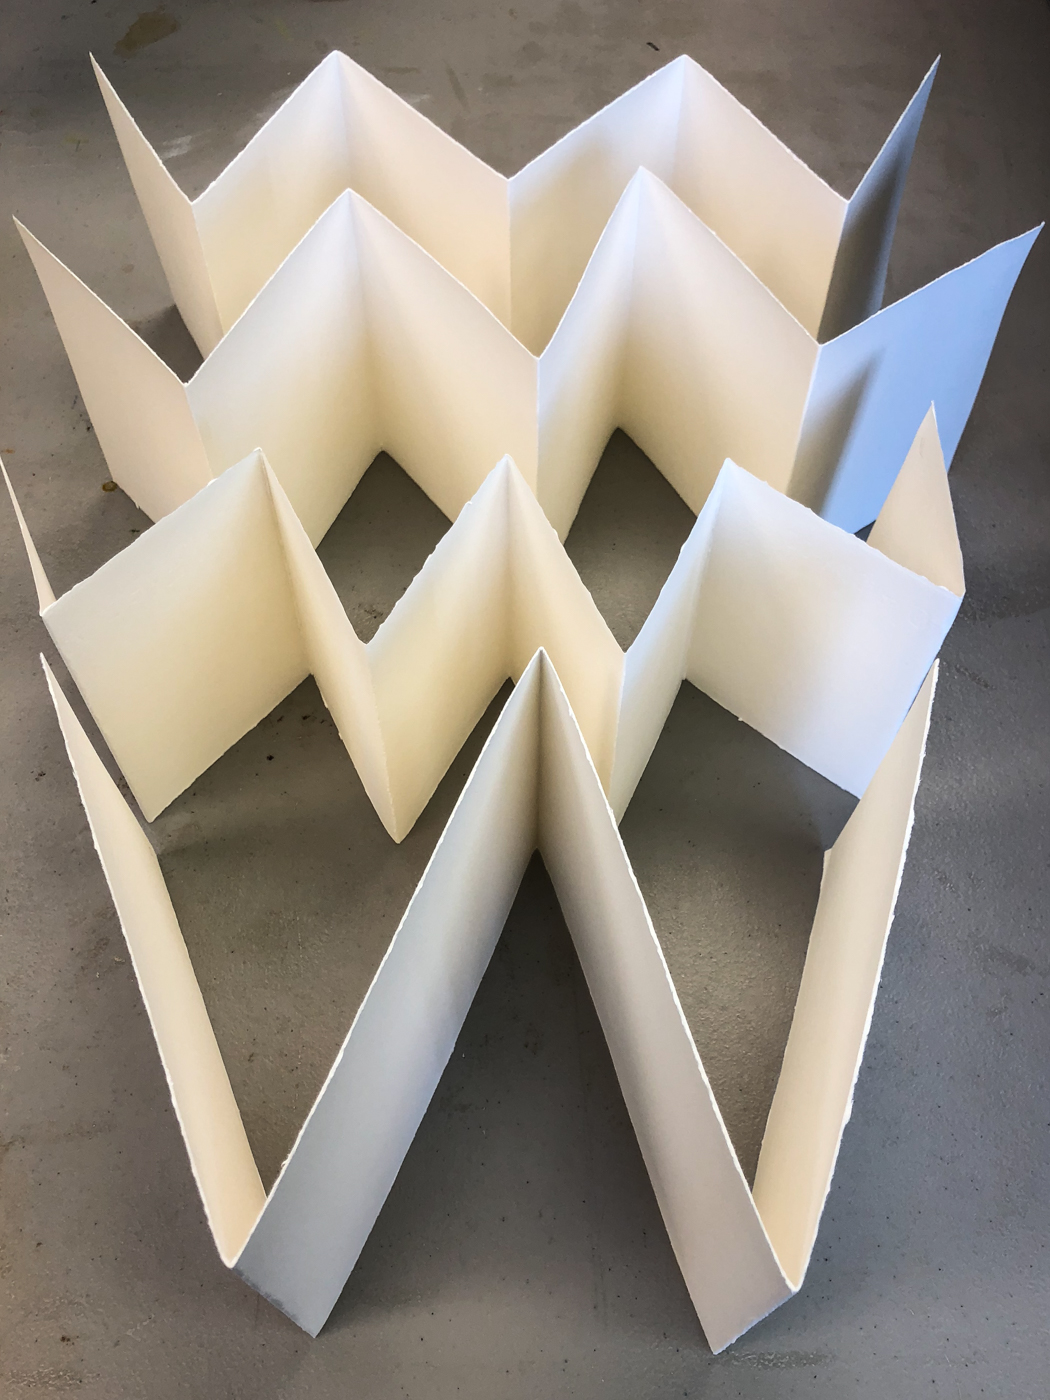
The 20×30 Fabriano sheet made four journals, above.
The sizes are off a bit because I made a mistake and saved it
* tell you later below *
and all that is fine with me as I still have four great blank journals
and it took me about 20 minutes to make them.
From bottom to top:
one 5.5 x 7.5-inch 4-panel (or 8 with each side) landscape type;
one 3.4 x 5-inch 8-paneled (or 16 with each side) portrait type;
and 2 of my favorite types,
5 x 5.5-inch 6-paneled (or 12 with each side) “square” journals.
If I wanted precise perfect journals it would take me closer to a couple hours:
to measure, double mark, draw the lines, wet and tear against a metal straightedge.
I like the organic torn edges and don’t care if all my journals are slightly different sizes.


The idea is to work with what is in front of you, size-wise,
and simply fold/flatten/flip/flatten/wet/tear.
 To get a large sheet folded without bending
it is tricky a first. Fold the sheet in half
the long way but do not come down with
a crisp fold right off… let it be a soft crease roughly in the center of the sheet
while you check your corners to see if
they are lined up, then move your hand to
the crease and begin to gently flatten,
not a hard crease, but a soft crease that
moves up and away from your body,
then come back to center and crease gently down and toward yourself.
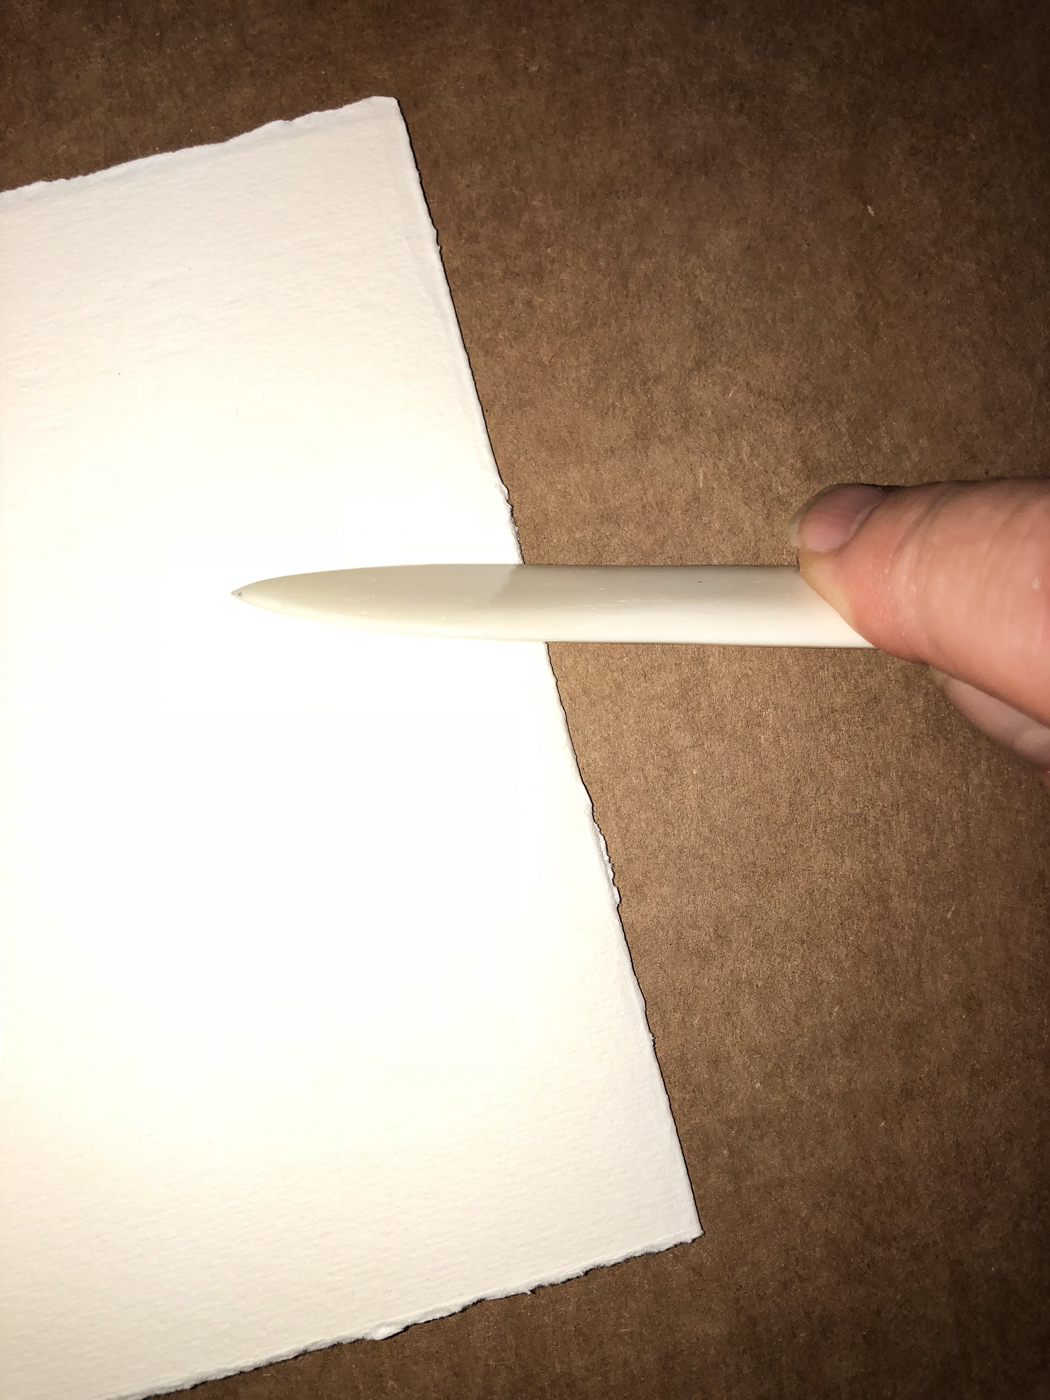
Final hard fold should be done with a bone folder, right, but if you don’t have one use the outer edge of scissors or a fat sharpie.
IF your first soft fold ends up being in the wrong place — and you get a bend — go with the placement of the fold and don’t sweat it. That is how I ended up with two of the journals being different heights — my crease bent in the wrong place so I folded the crease there, and above, you can see it made for different sizes. Still nice journals… and I am not crazed but relaxed and having a good time making non-judgemental little journals!
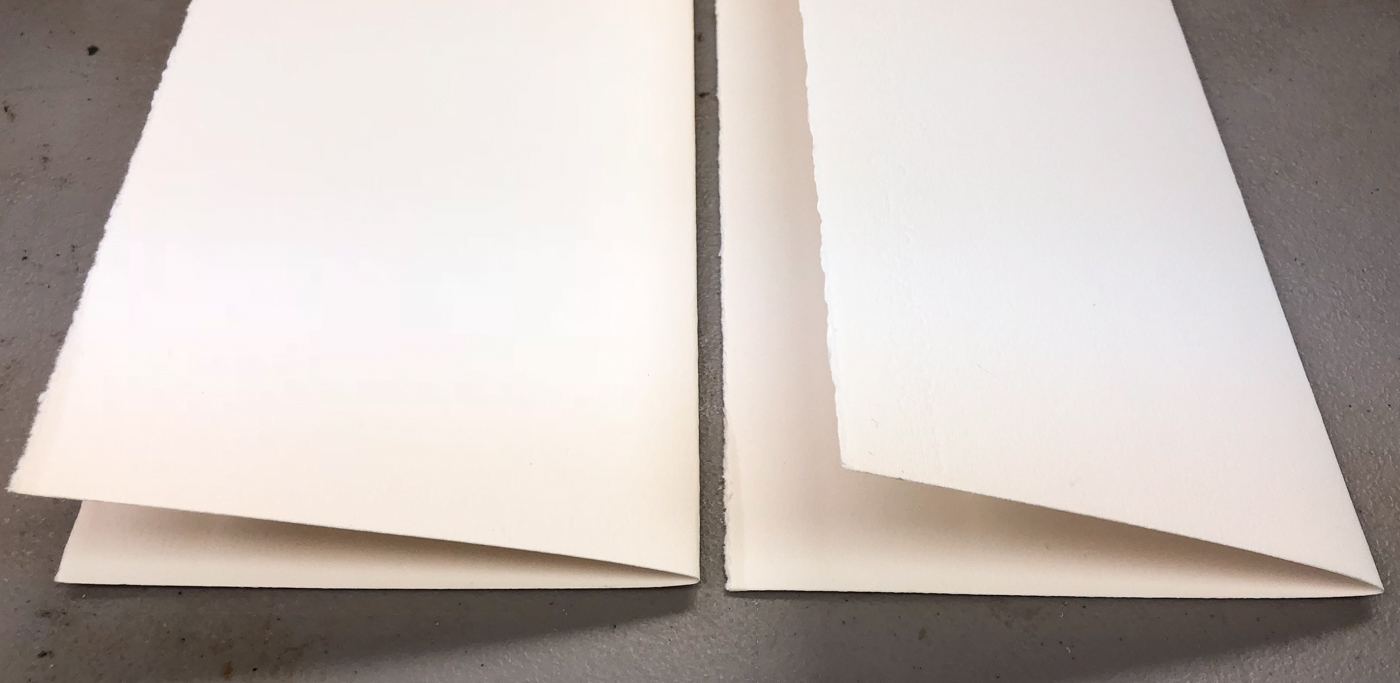
To make the tears, which are as close to a deckled edge as I can get,
I carefully wet the hard creases. I thoroughly soak the edges.


When they are thoroughly wet (you will see a 1/8-inch wet spot),
you lay the paper flat and begin at the top,
holding the one side down flat, and gently beginning the tear.
Once it begins, it usually will go smoothly along the soaked creased line.


Before I get to far, IF it matters to you mark the side with the watermark you can read.
(I am going to usually use watercolors on both sides so it does not matter as much to me,
but there is a ‘best” side of the paper.) I use the first letter of the name
(here is “F” for Fabriano) to remind me of the paper maker, which I do care about.


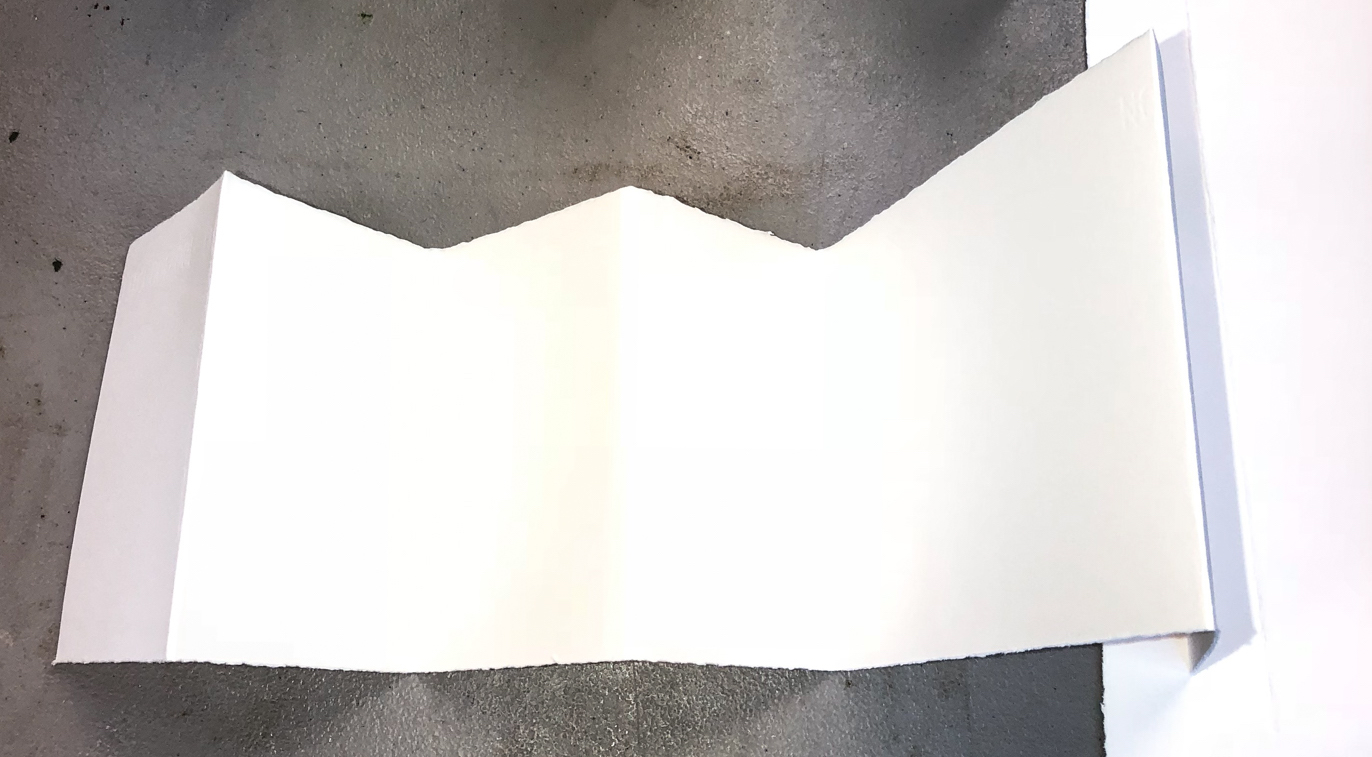
 The simplest journal is to fold
the long strip in half, then fold it
again into itself. Depending upon
the paper dimension you begin with,
and in this case it was 20×30,
it makes the 5 x 7-inch 4-panel
(or 8 with each side) landscape type
close to an A5 size (smaller if you use a smaller sheet but often will still be a landscape journal, like the one right.
If you prefer a smaller size, and portrait, take that same landscape journal
and fold each panel one more time and you have a 3.4 x 5-inch 8-paneled
(or 16 with each side) portrait type, closer to an A6 journal.
The point is, without measuring, you can fold simple journals in a few minutes.


Now, I sometimes do measure long sheets,
but I still don’t stress it and I still make make it easy.
Above, I wanted a panel closer to a square. I folded the long sheet in half once.
Then I divided each half by three (which just happened to give me a size close to the height) and folded to the lines with a soft crease, aligning the sides before I made my final crease. This is my favorite size journal, because i’ve always loved squares.
If I love squares so much, why not take the time to make
a perfect measured square? Because I want to get along
to the good parts I want and I am choosing not to be so persnickety about these journals.
I find charm in rough cuts.
You could, of course, measure, but that is for another day.
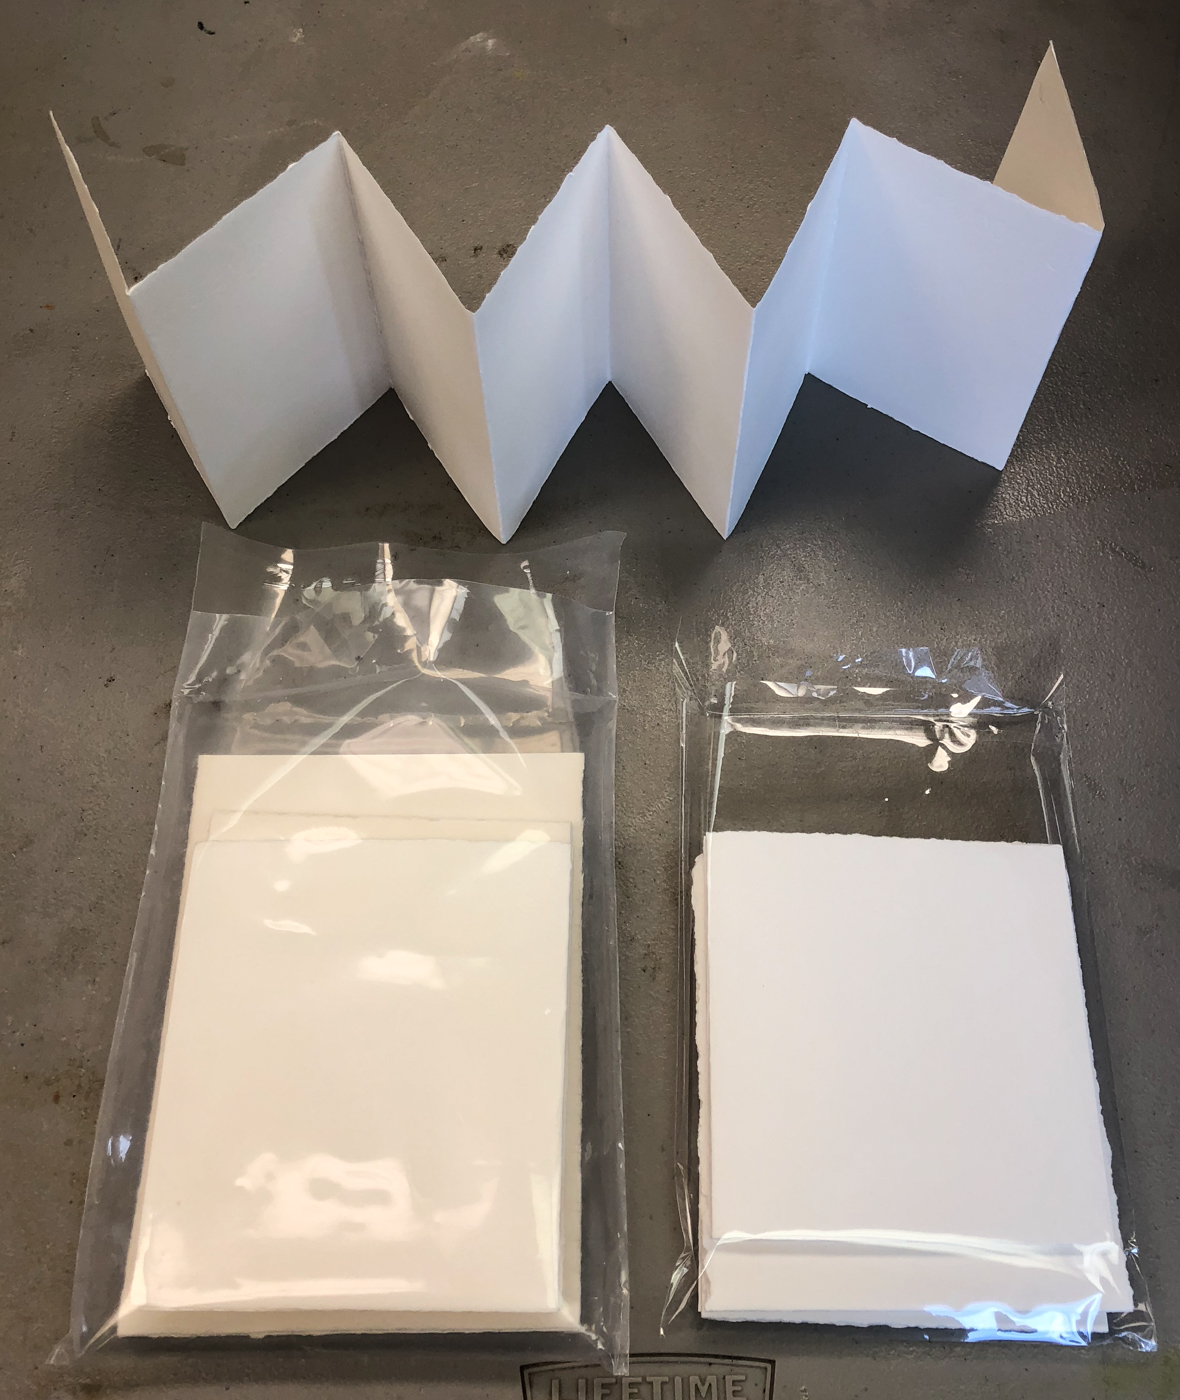 I save sleeves from cards and journals,
and store my little folded journals
in them for safekeeping.
I try to put same paper in each sleeve,
but sometimes I am just not that organized!
When I am completed with a journal,
if it is not on display,
I also put it in its own sleeve.
I gift them, send them (most fit in a normal envelope with extra postage),
and they delight the recipients.
No frame necessary!
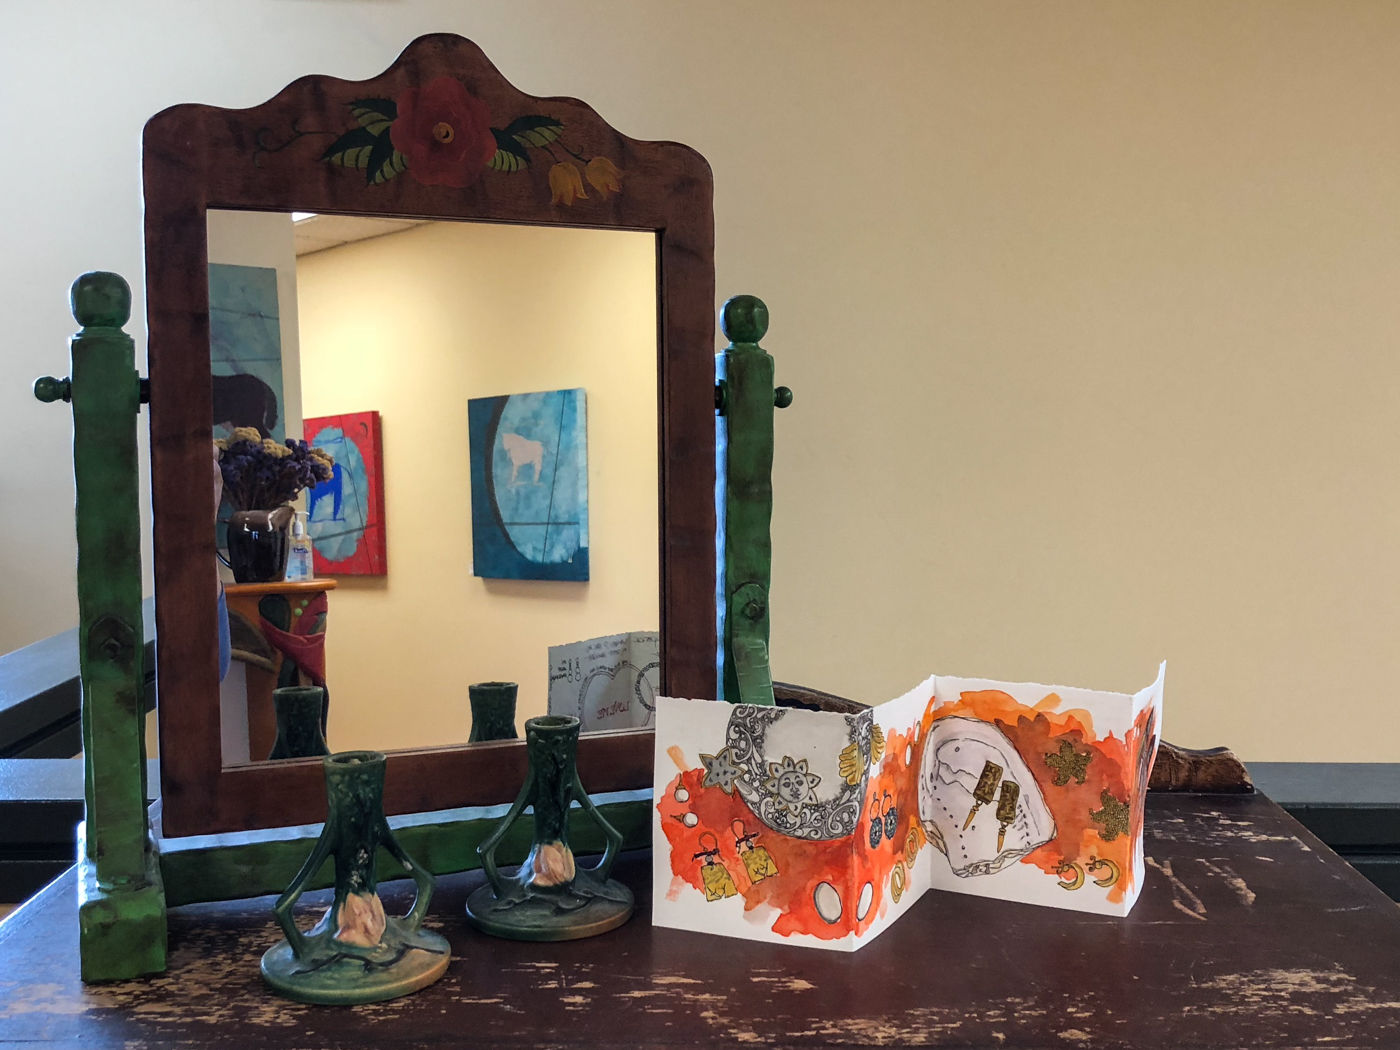
 Which brings us to the last bit for this post.
While I do tend to watercolor SOME on both sides, I find that I like having a more public side to my folded journal, and a more private side.
*this does not include journals that are
not for public consumption*
Above, a journal on display in our business
lobby, and you can see in the mirror the back
part that is more private. I played with
handmade papers on that backside, right,
and will show you what I did below.
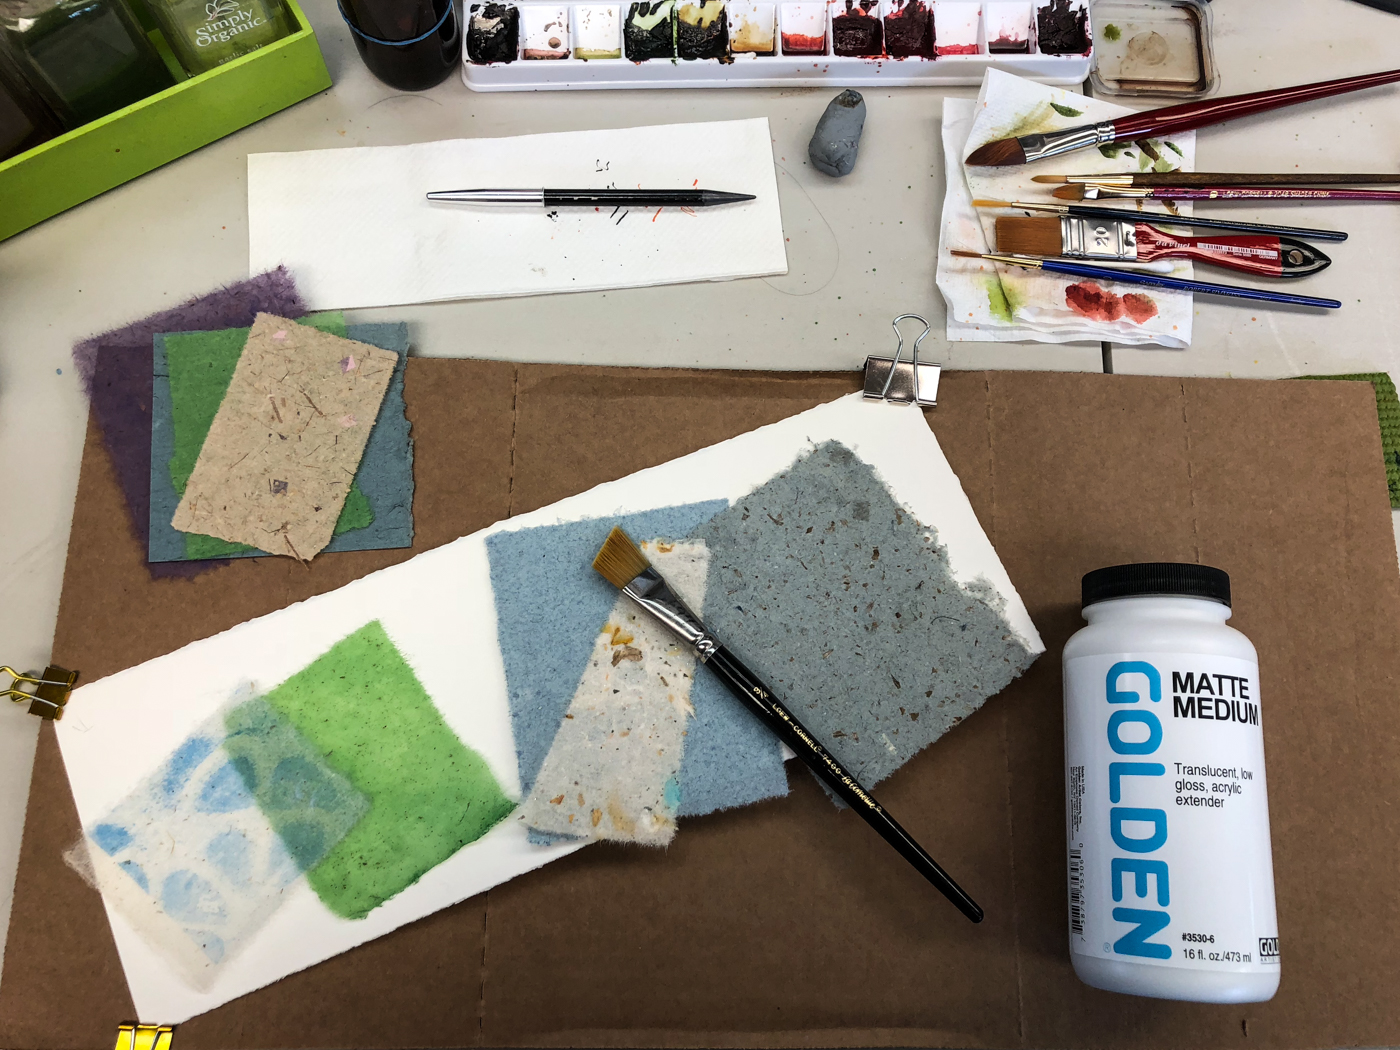
All the materials i need are laid out, above.
Some of the papers are my handmade papers, some are bought from India and Bali.
Clip the edges of the journal area you want to collage.
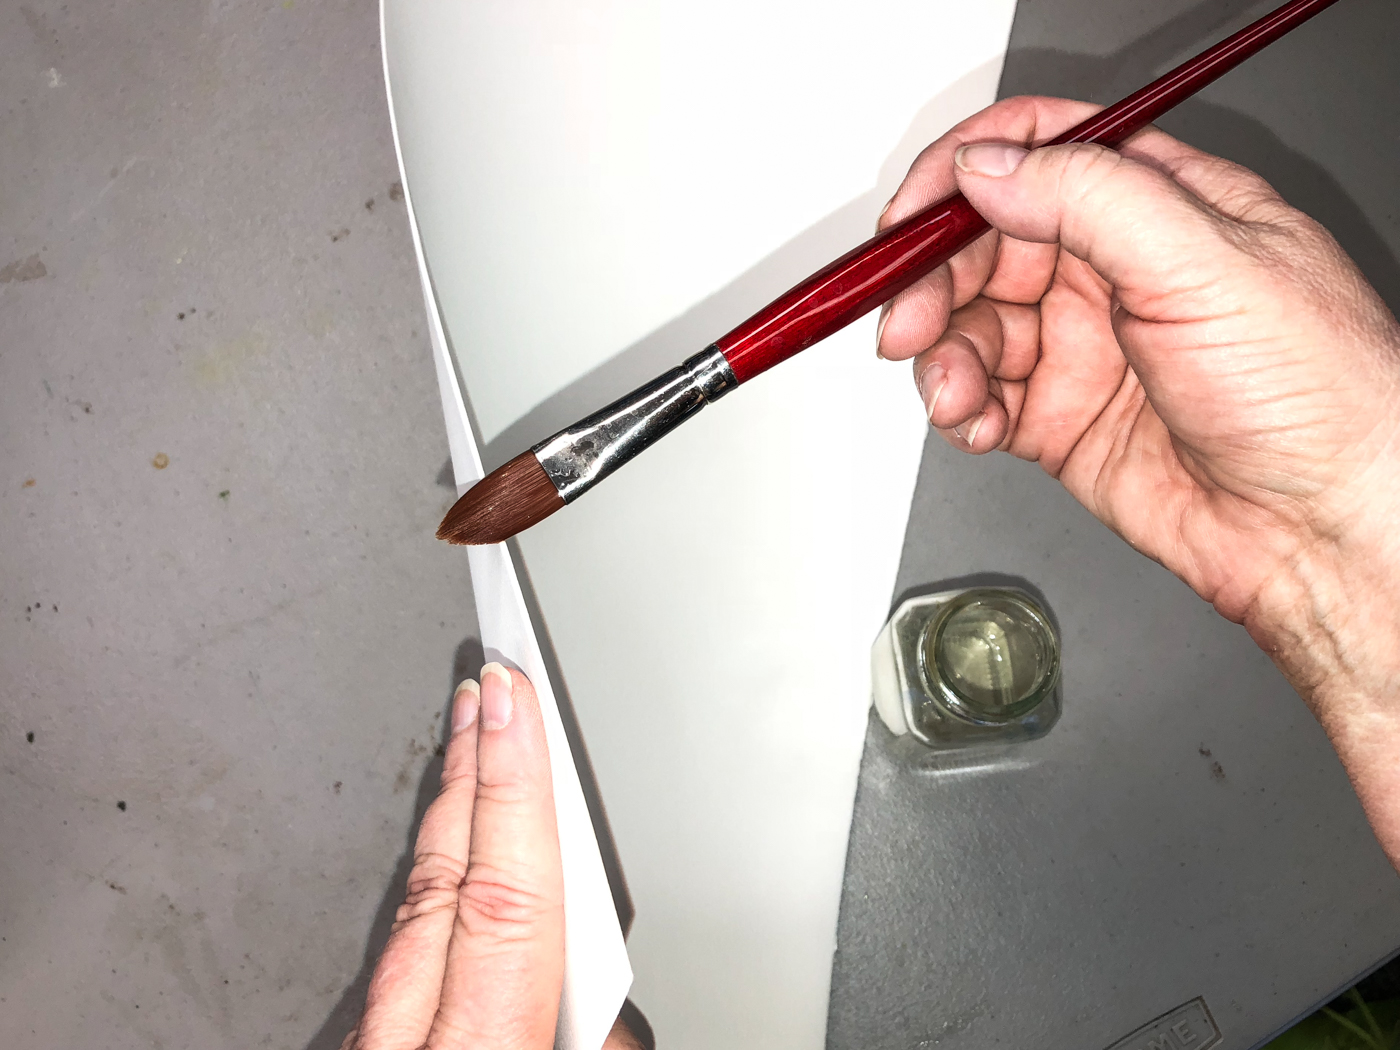
I get a feel for what I want to use and tear or cut the shapes and lay them out before I begin layering with medium. I use nothing but Golden acrylic products. ALWAYS.


Use an inexpensive brush and clean it thoroughly after use.
If you are using an older watercolor brush you no longer want,
make sure there is no watercolor residue left in the brush.
I wet the panel lightly before I begin.
Do NOT get the tissue-like paper wet, but place it on the slightly damp journal paper
in the position you want it permanently, starting with the bottom layer first.
Using the acrylic medium on a WET brush, apply the medium to
the colored paper on one edge, and begin brushing it over.
The entire surface must be wet with medium, but not thickly.
You can wait if you like, or continue layering while the first is wet.
When you’ve completed, keep the pages clipped in place for a couple of hours to dry.
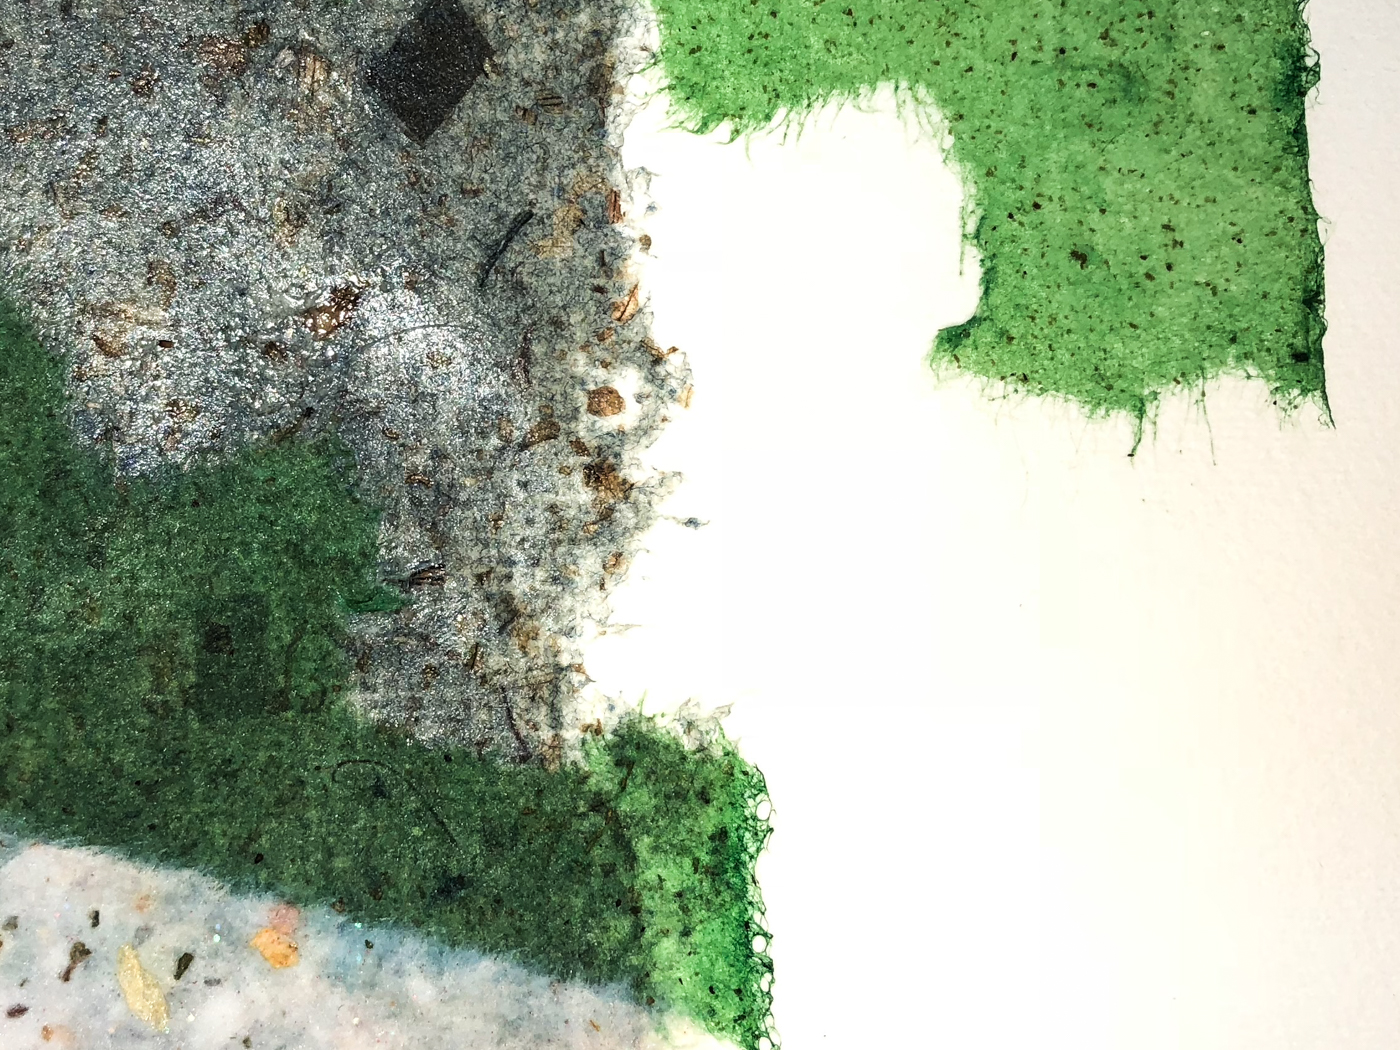 I like to feather the natural tendrils of paper out and let them read, which is more organic and suits my style. if they are not the edge of the handmade paper, you can get those edges by wetting before tearing.
You can also use cut shapes, etc.
You must use waterproof ink on top of acrylic medium and let it thoroughly dry before touching. Wait. Then wait longer!
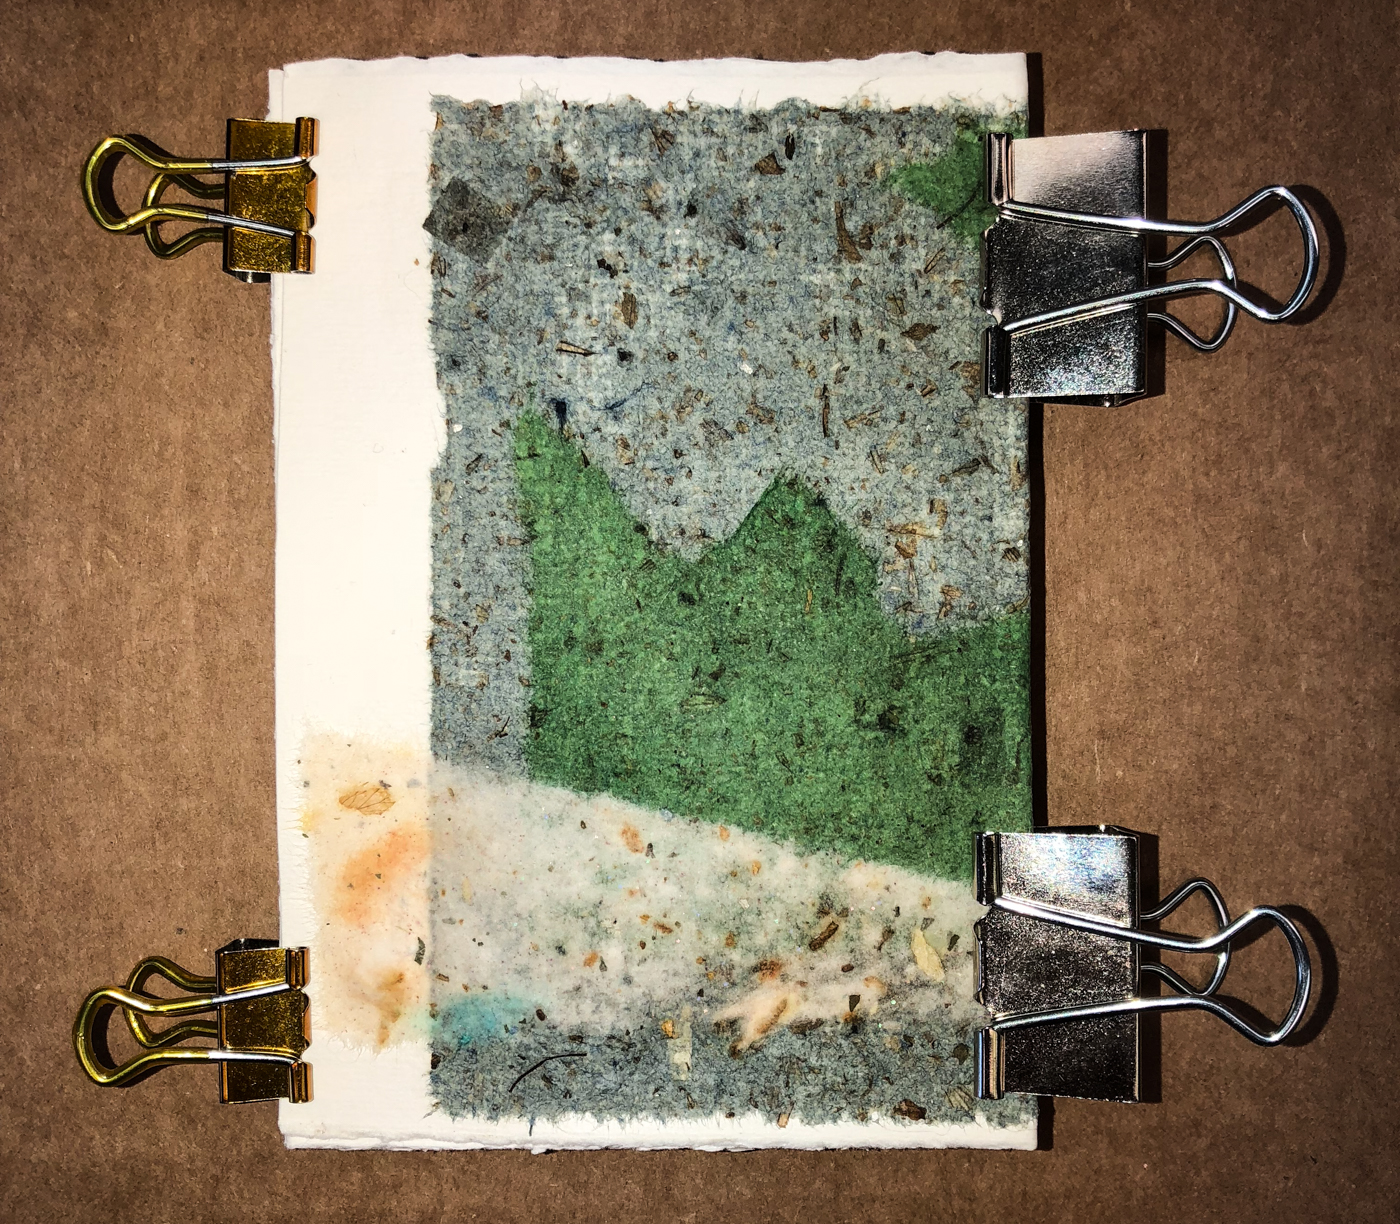
Finally, when it is basically dry, I release and fold it so the
layered papers wrap the edges, not fold into them as shown above.
I clip and let it sit for the day before I pack it away, letting the layers
of acrylic medium cure and helping to flatten the journal edges out!
 To hear about classes, follow me on Facebook
or check out my new, improved dkatiepowellart.com
“Memory is more indelible than ink.”
Anita Loos, Gentlemen Prefer Blondes.
“I think not….”
Me… why I journal!
Sheet Fabriano watercolor paper, various tissue-like papers, Golden Matte medium.
☾
©D. Katie Powell.
My images/blog posts may be reposted; please link back to dkatiepowellart.
☾
 As my Patreon supporter, you will have
access to some content not on this website,
sneak previews, goodies, discounts on classes.
I teach architectural sketching,
art journaling (art+writing), creativity, watercolors.
That annoying loud-mouth editor/critic in your head? GONE! How great would that be?


I received my journal and colorful papers yesterday. Lovely. Thank you so much…b
LikeLike
Yay! You are welcome!
LikeLike